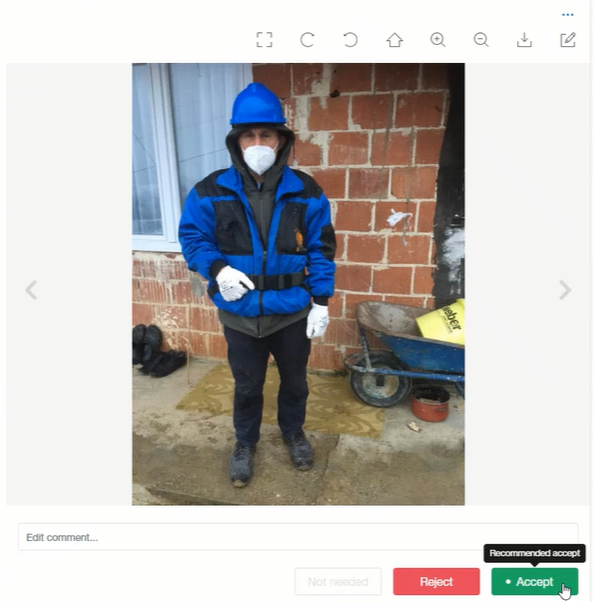
This page describes different elements when viewing images and videos. From this screen, you can add comments, Accept, Reject or mark images as Not needed. Please note that "not needed" status is only available once the minimum number of required photos, videos or documents is met.

Document Info
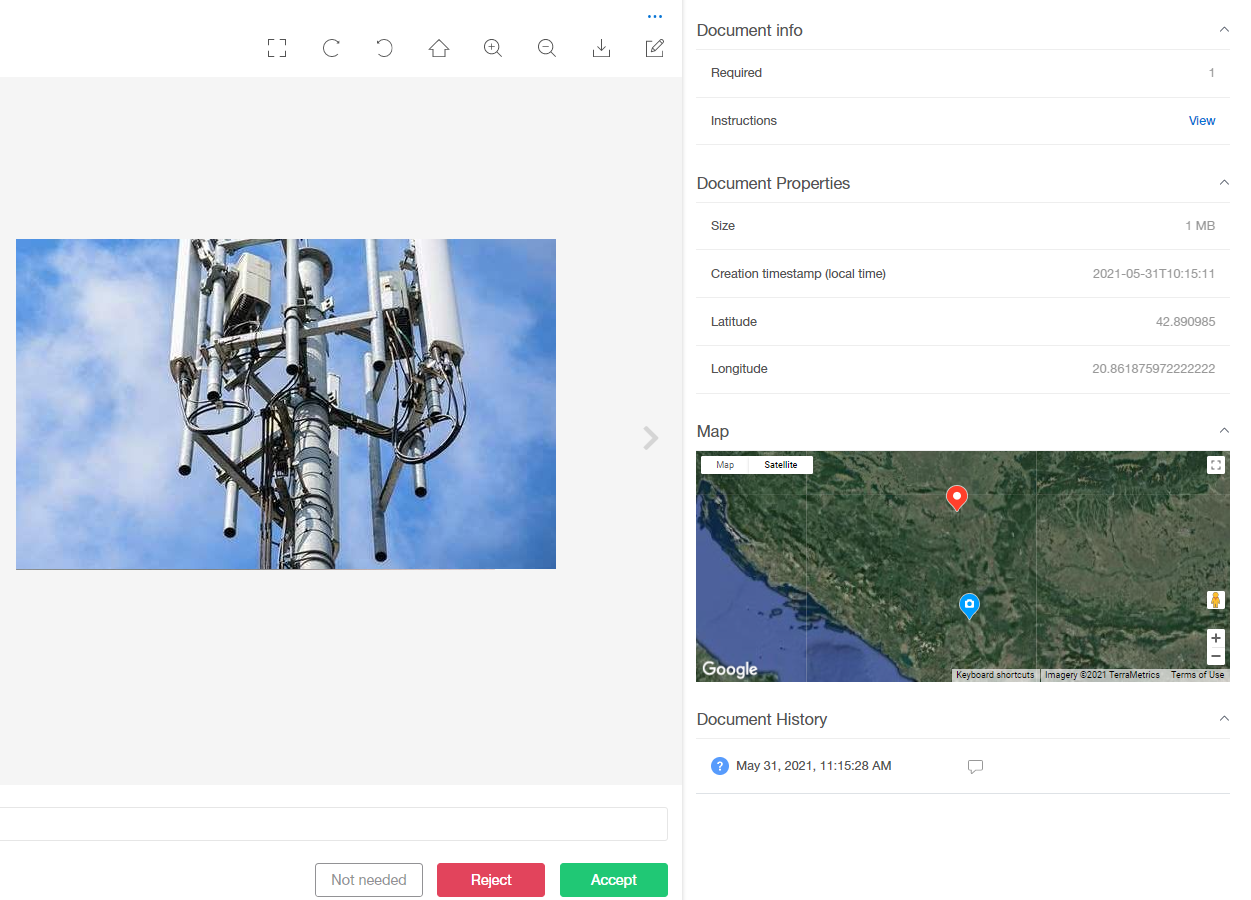
Required - Number of required images.
Instructions - Use this to provide instructions or sample images to field technicians.
Work Item Properties
Size - size of the work item.
Creation timestamp (local time) - date and time when the document was created.
Latitude and Longitude - geotag the location of the image. This ensures that the image is taken at the site.
Map - use the map to view the site in Google Maps or Google Earth. The map displays two pins: one for the site (red pin), and one for the geotag location of the image (blue pin) and distance between markers.
Document Toolbar

In the document toolbar you have access to the following options (from left to right):
Fullscreen
Rotate Right
Rotate Left
Home
Zoom In
Zoom Out
Download
Draw
The Draw tool allows you to highlight parts of the image. Once you click the Save button, your drawing is available in the Drawings section.
Document History
This section displays the history of actions and on an image (when an action took place, what action was taken, and who performed the action). Additionally, if the comment was added to the image, the message icon will become blue, and it will be visible by clicking on the icon.
Actions
If you have an adequate project or site role, you can perform the following actions on the image:
Accept - Use this option if the image meets the project requirements.
Not needed - Use this option if the image is not required for the site
Reject - Use this option if the image doesn’t meet the project requirements. When rejecting the image you need to select one of the following reasons:
Poor quality work
Poor quality photo
Wrong site/placeholder
Wrong document naming
Other
You can also leave a comment for field technicians. Once you click the Reject button, the field technician receives a notification that you rejected their image on their mobile device.
Edit comments - Use this option to add comments to the image.
Info
You can also leverage our developed AI aids in helping you manage and ease the workload of inspecting the quality and validate different placeholders. To learn more, keep reading below . . .
How to use AI models for placeholder validation?
In CloseOut, you can set AI validation models for your photo placeholders. You ca...
In CloseOut, you can set AI validation models for your photo placeholders. You can add the AI model while creating a new placeholder or to an existing one. This way, the AI model can assist with the photo validation by either automatically applying specific action (Accept or Reject), or suggesting recommended action. The "Recommended Action" mode is more desirable when the human-in-the-loop setup is required. The AI model can help with validating different elements in your placeholder photos, by detecting objects such as antennas or safety equipment, identifying the user-defined text on a photo, verifying the image quality, or inspecting document certificates.
To enable the AI model:
- Log into CloseOut.
- In the Administration tab, select Templates.
- In the drop-down menu, select Project Workflows.
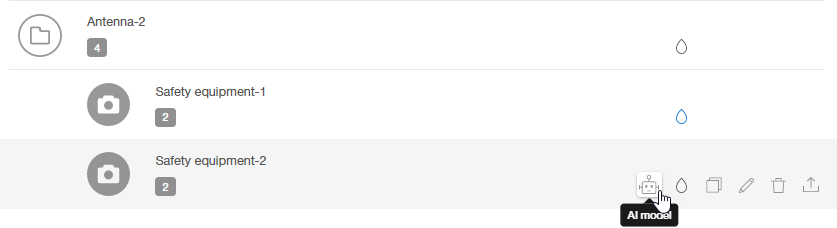
- Open one of the projects, choose the placeholder to which you want to add the AI model, and click the "robot" icon.
 5. Select one or more AI models, select either automated or recommended approval mode, and click Save.

The AI model is now successfully applied to the placeholder. Once you review the uploaded placeholder, you can see the AI model in action on newly added photos. If the photo placeholder meets the requirements of the AI model, the placeholder will be either automatically accepted, or the appropriate action will be recommended to you. If you want to view the bounding boxes of detected objects click on a photo in the Drawings section at the bottom right corner while browsing through a placeholder.