If you have an adequate role, you can set various parameters in the CloseOut web app.
- Log into CloseOut.
- In the Administration tab, select Settings.
- Click the option that you would like to set.
- It will be displayed on the right side of the screen.
- Add a new Territory Structure for current of future projects
- Add new Companies (for example, if you have General Contractors) and set the default company for new users.
- Add new Document Types for users' certificates and documents.
- Set Resize Models for uploaded images.
- Enter the System settings for all the users on your tenant (your organization), set "Quick accept diameter," the default time zone for all the users, and the Shift time warning time value.
- Choose which AI models are available to use in your project workflows.
- Create a new Enum for search options and location settings.
- Specify Holidays.
- Create a new Placeholder category.
- Create a Job type.
- Create and edit Roles to organize and easily change user access rights.
Here is how to modify your application settings:
How to add new Territory structure element
You can assign territory attributes to projects in the CloseOut, although it's not required. Doing so can help you organize your business and make it easier to track operations in different territories.
With this feature, you will be able to assign users with the territory access role to a specific territory group. This will enable you to better manage and control access to specific territories within your organization. Territory attributes are:
- Country
- Region
- Market
- State
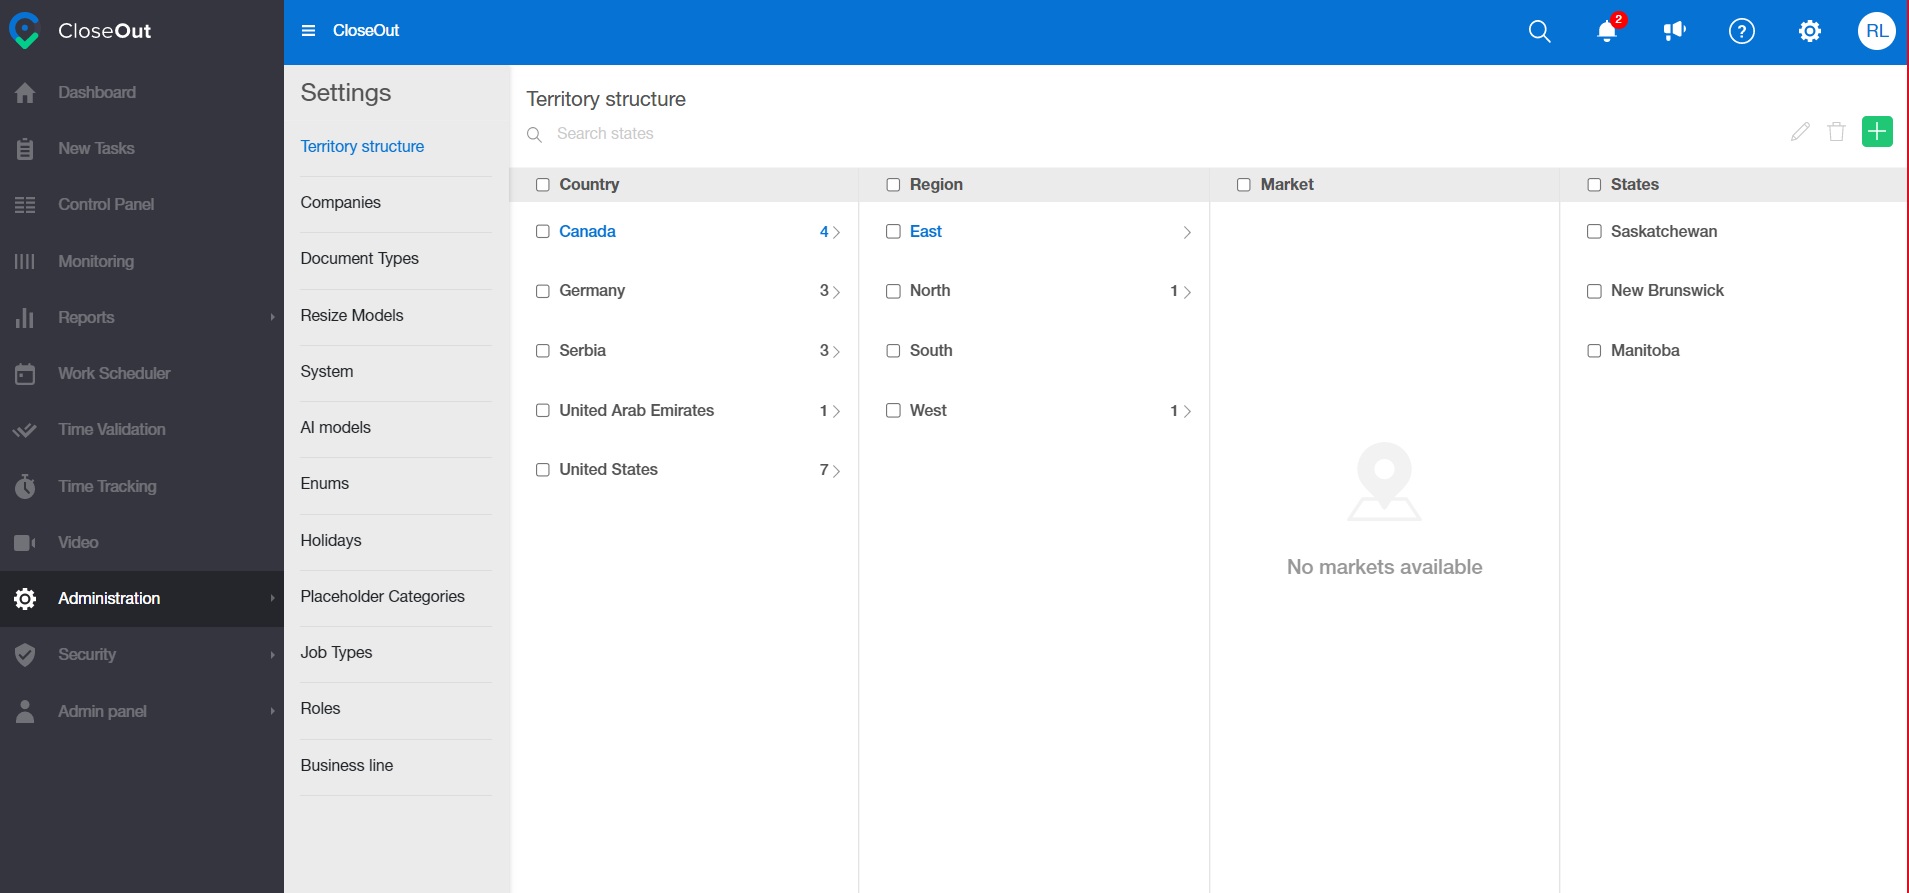
First, establish your own territory structure for use in future company projects.
- Log into CloseOut web app.
- Go to the Administration section and navigate to Settings > Territory structure.
-
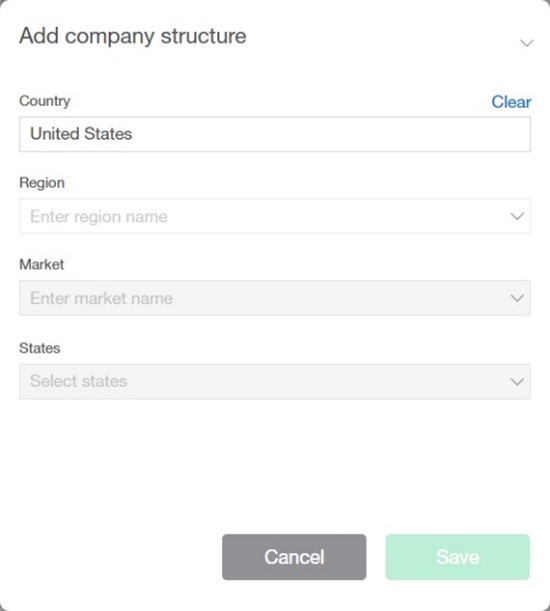
Click on the + to add Territory structure input.
.png)
-
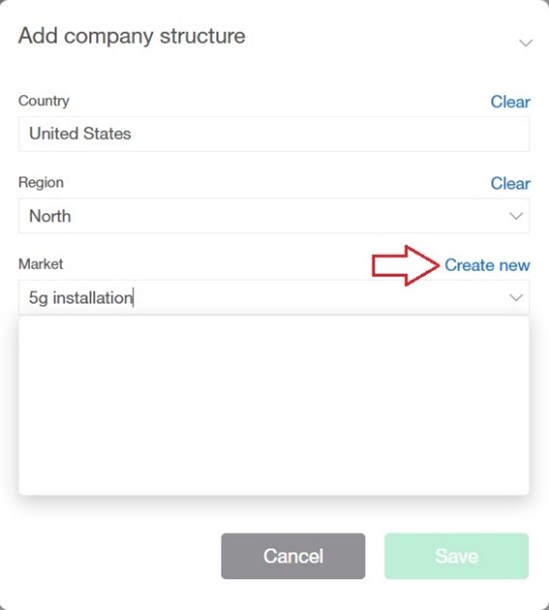
Keep in mind that countries and states are already set in the system. "Region" and "Market" are fields that you must define beforehand. If you want to add new attributes to either "Region" or "Market," simply type the attribute name and click on the "Create new" button on the right. Click the Save button to apply the changes.
Adding new companies
COMPANY STRUCTURE:
Go to Administration ⇒ Settings and click on Companies.
The name of your Root company will be the same as the name of your Tenant.
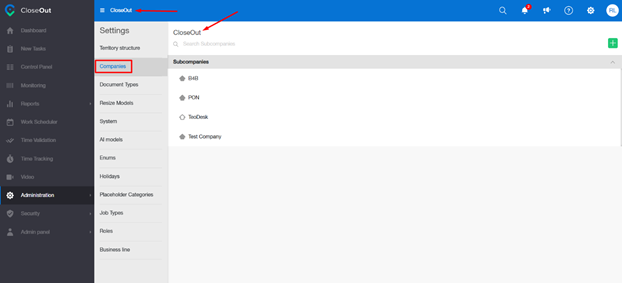
New subcompanies can be added by clicking the + .
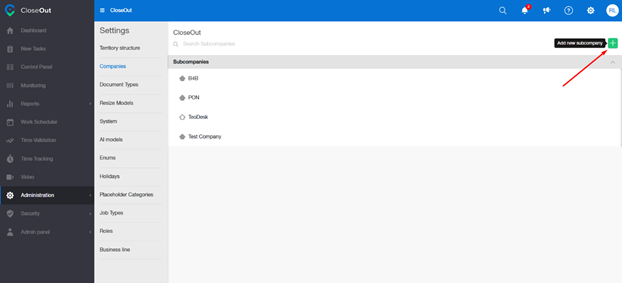
Subcompanies can be edited. They can also be deleted but only in the case if no user is assigned to that subcompany. You can also create a child of a subcompany by clicking + .
Every subcompany will have a black house icon next to the name, but subcompanies within subcompanies will have a white house icon.
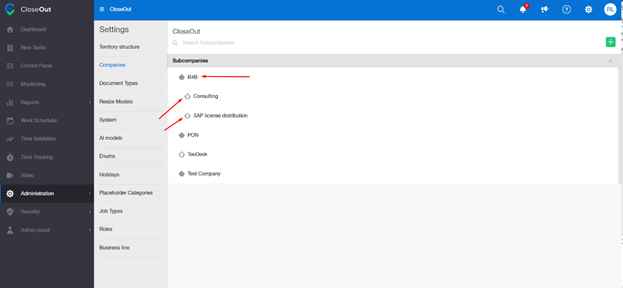

All roles in the subcompany, whether they are predefined, or custom will be able to work only in their subcompanies and will not have access to the other subcompanies, or upper levels in the hierarchy.
Info
Admin is the only role that can create companies and structure them in a desired order
Adding a new or existing Document Type
This option is used to classify certain types of documents. For example, in order to add a certificate, it is mandatory to set a document type.
1. Log into CloseOut
2. In the Administration tab select Settings.
3. Choose Document Types.
4. You can choose an existing Document Type or add a new one by clicking the + icon.
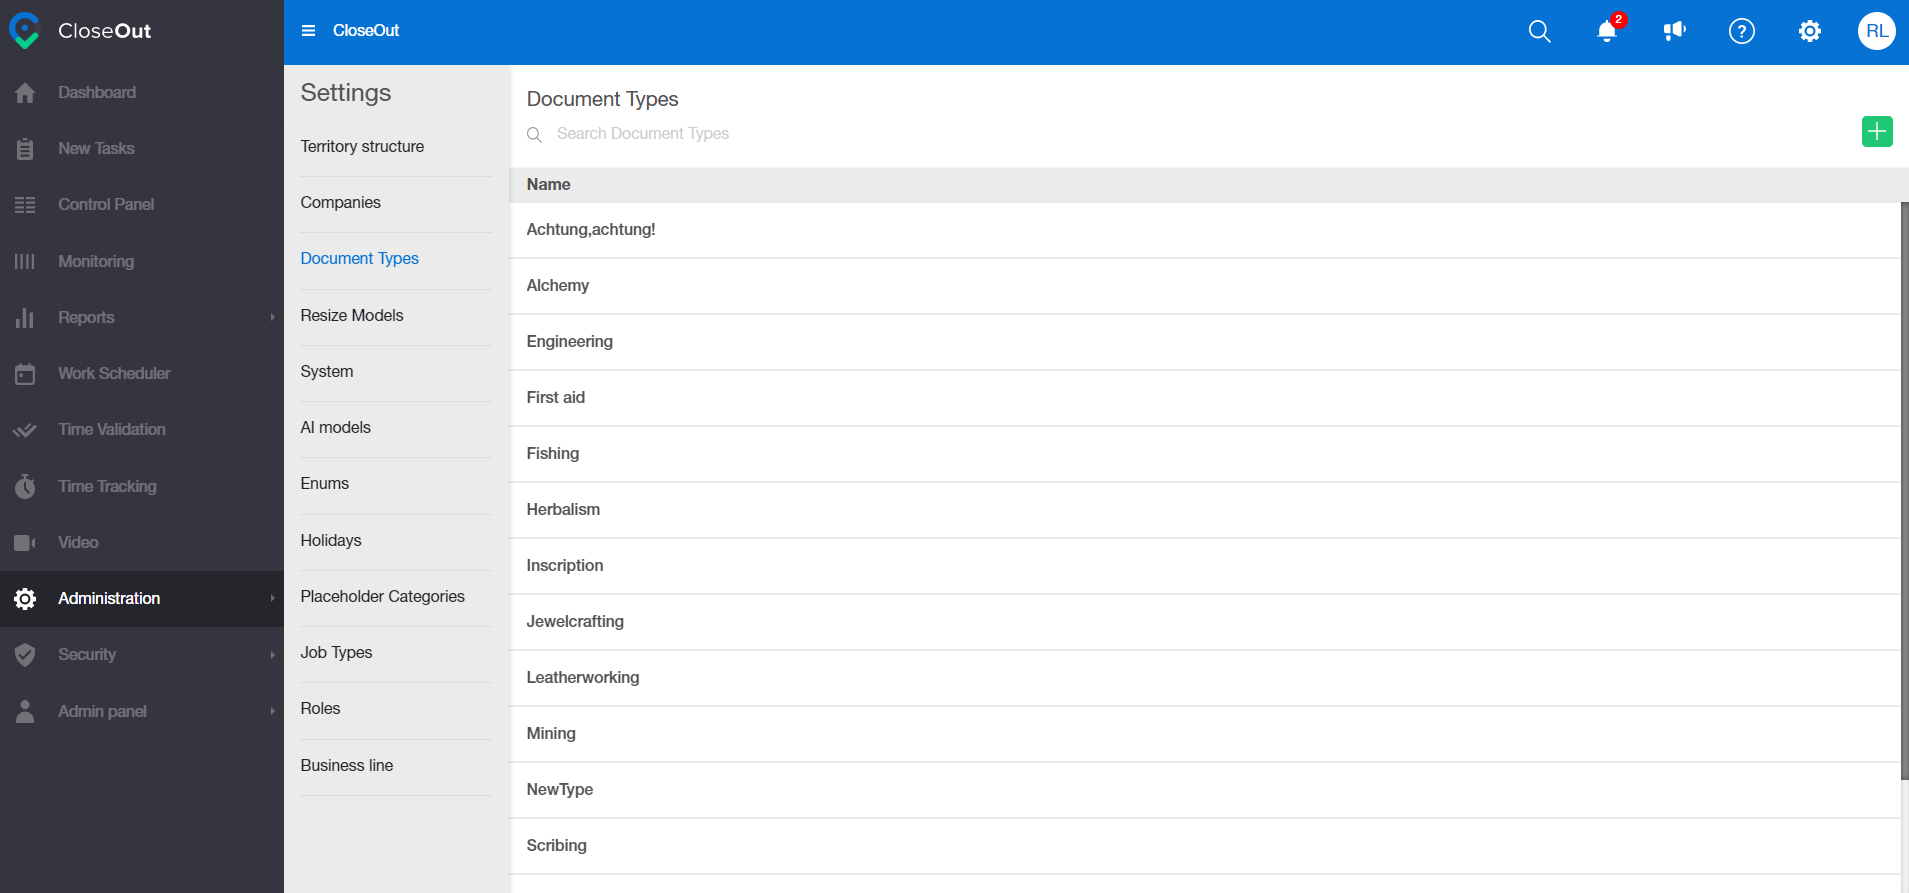
5. A Company name can be edited by clicking on the "Pen" icon, or deleted by clicking on the "Bin" icon.
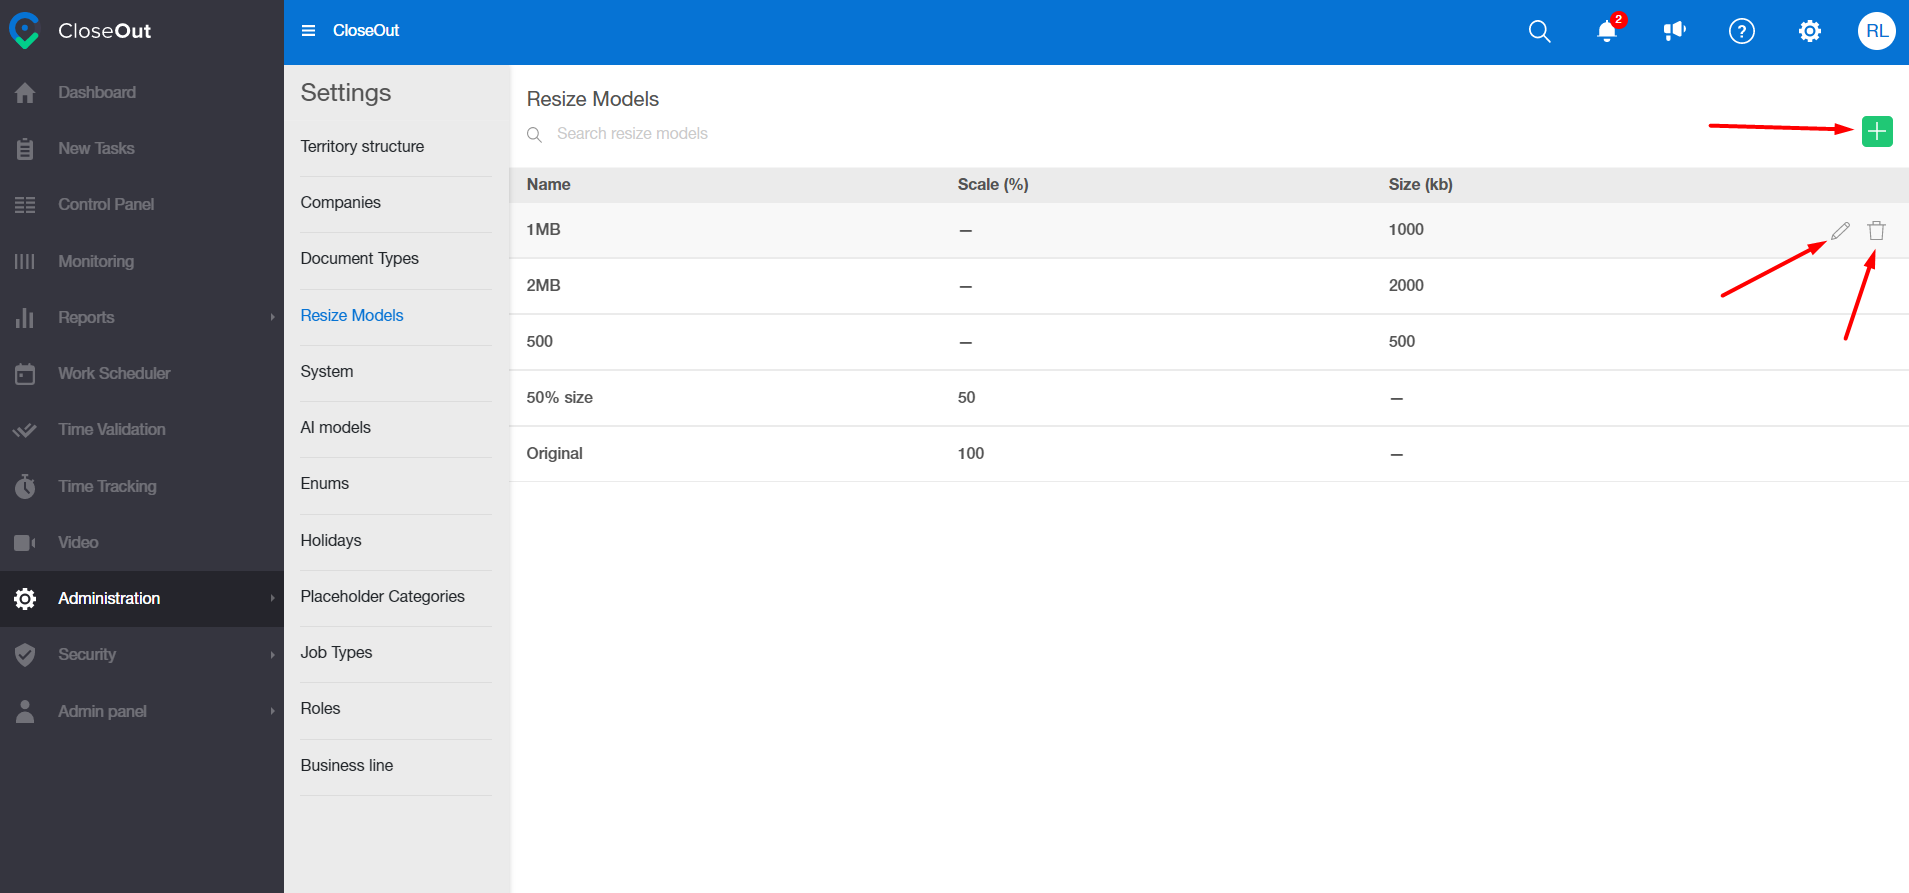
Resize models
This option allows us to set the size of the photos which are being uploaded to a photo placeholder.
There are already several values available in the Resize model tab. Depending on your preferences, new options can be created and already existing options can be edited, or deleted.
Systems
In system settings, you have a variety of options that are applicable on a tenant level. You can set default time-zone, shift-time warning, units of measures and other.
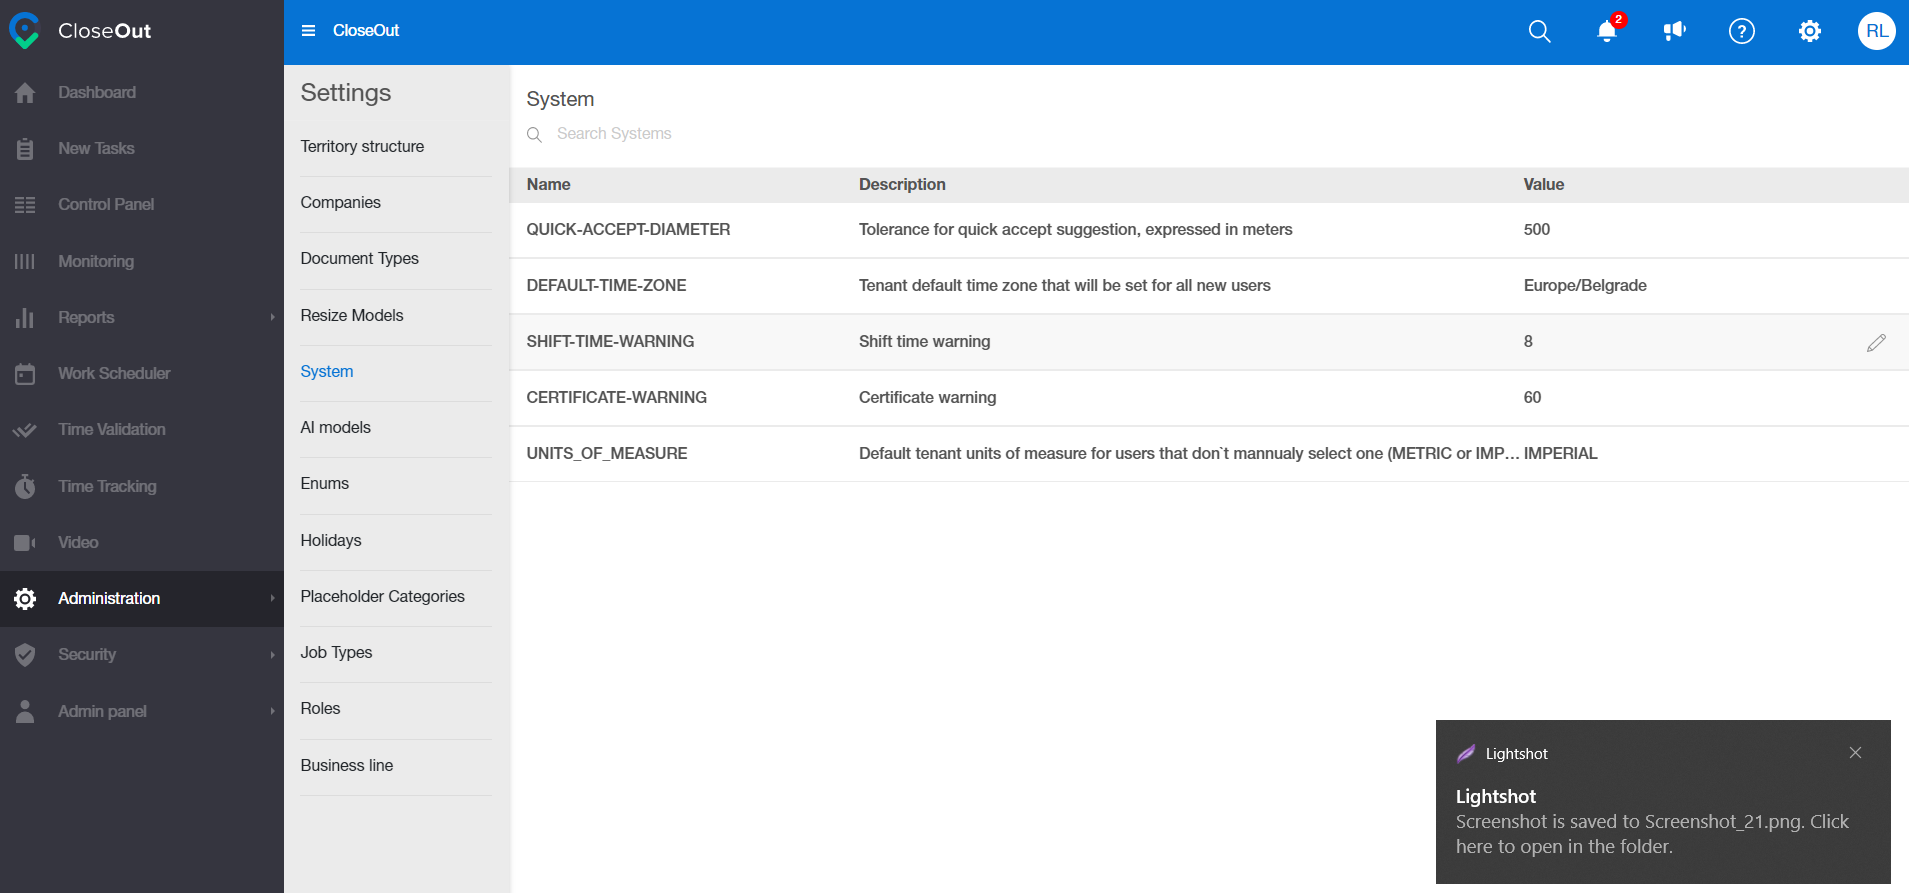
System settings can be edited by clicking the "pen" icon on the upper right corner.
- Quick-accept diameter: is used to set tolerance for quick accept suggestion, expressed in meters
- Default time-zone: Tenant default time zone that will be set for all new users
- Shift-time warning: used to set up a timed warning for when the shift is supposed to end (e.g. 10 hrs)
- Certificate warning: set the warning time in days for certificate expiration notifications
- Units of measure: specify the default tenant units of measure for users that manually don`t select one (METRIC or IMPERIAL)
- Extract image GEO_TAG: Should geo tag be extracted from image during image upload
- LATE-CLOCK-IN-THRESHOLD: Time in minutes after which employee clock in will be marked as late (not on time)
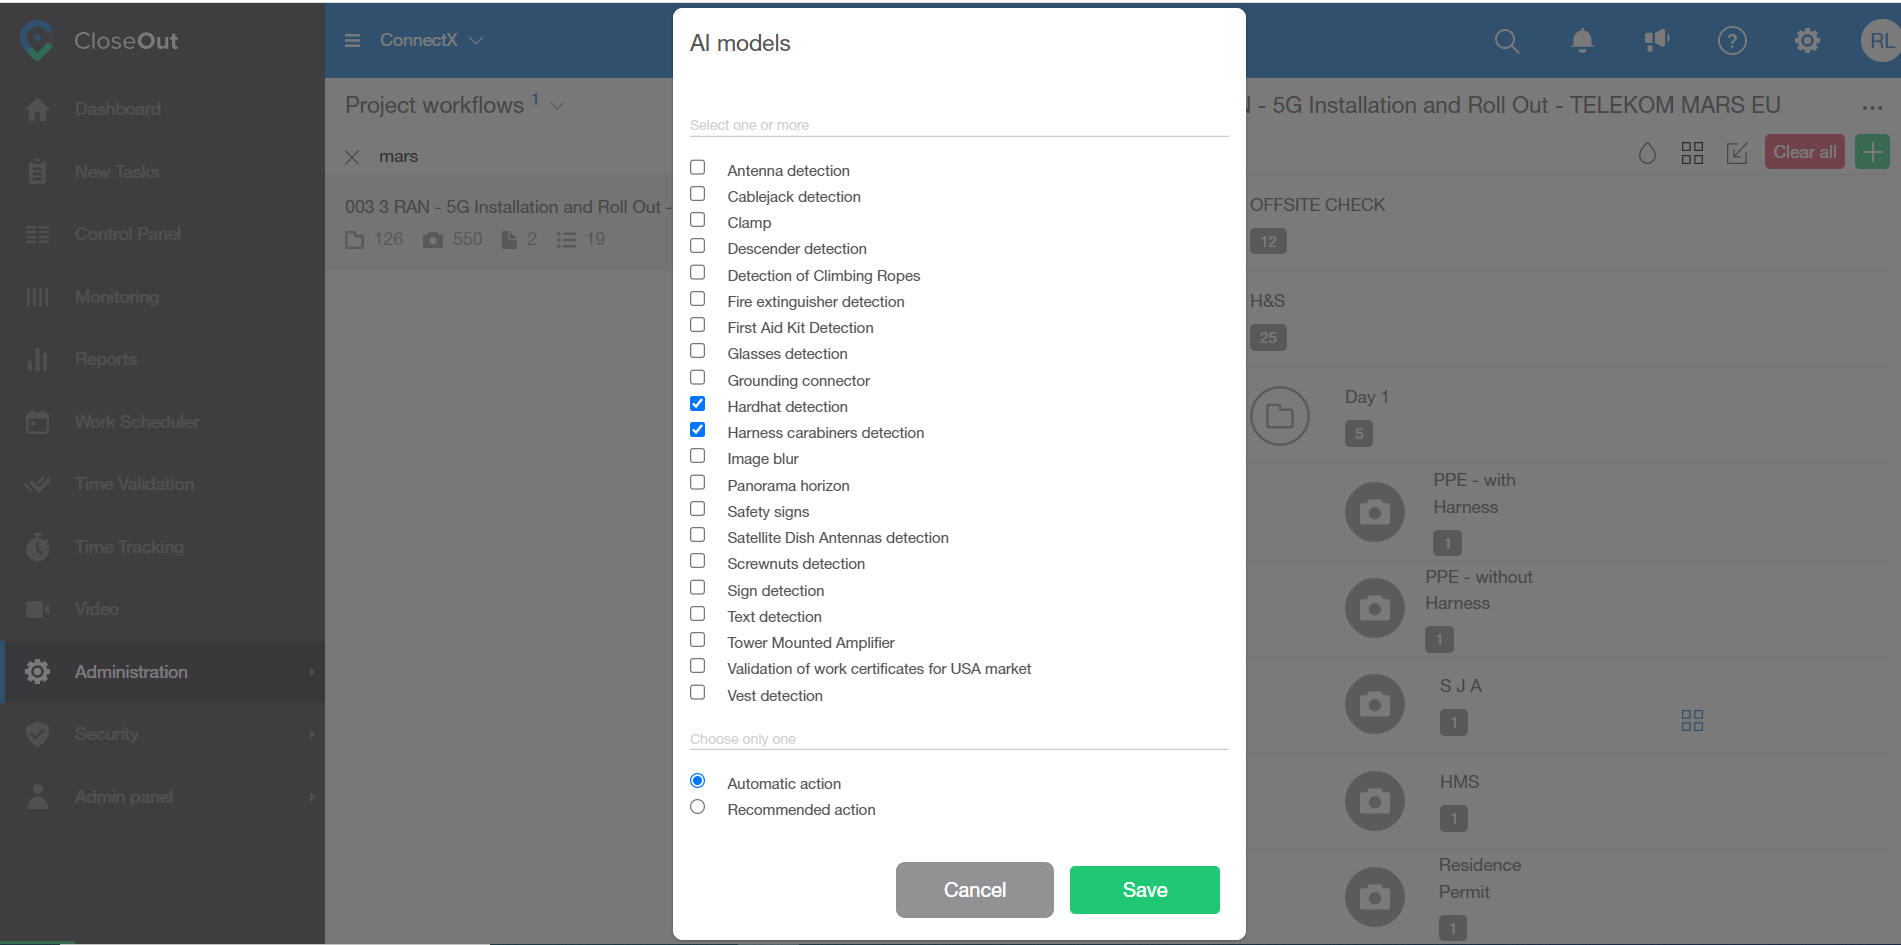
How to choose and set AI models
You can see all available AI (Artificial intelligence) models that can be set on a photo placeholder
1. Log into CloseOut.
2. In the Administration tab select Templates.
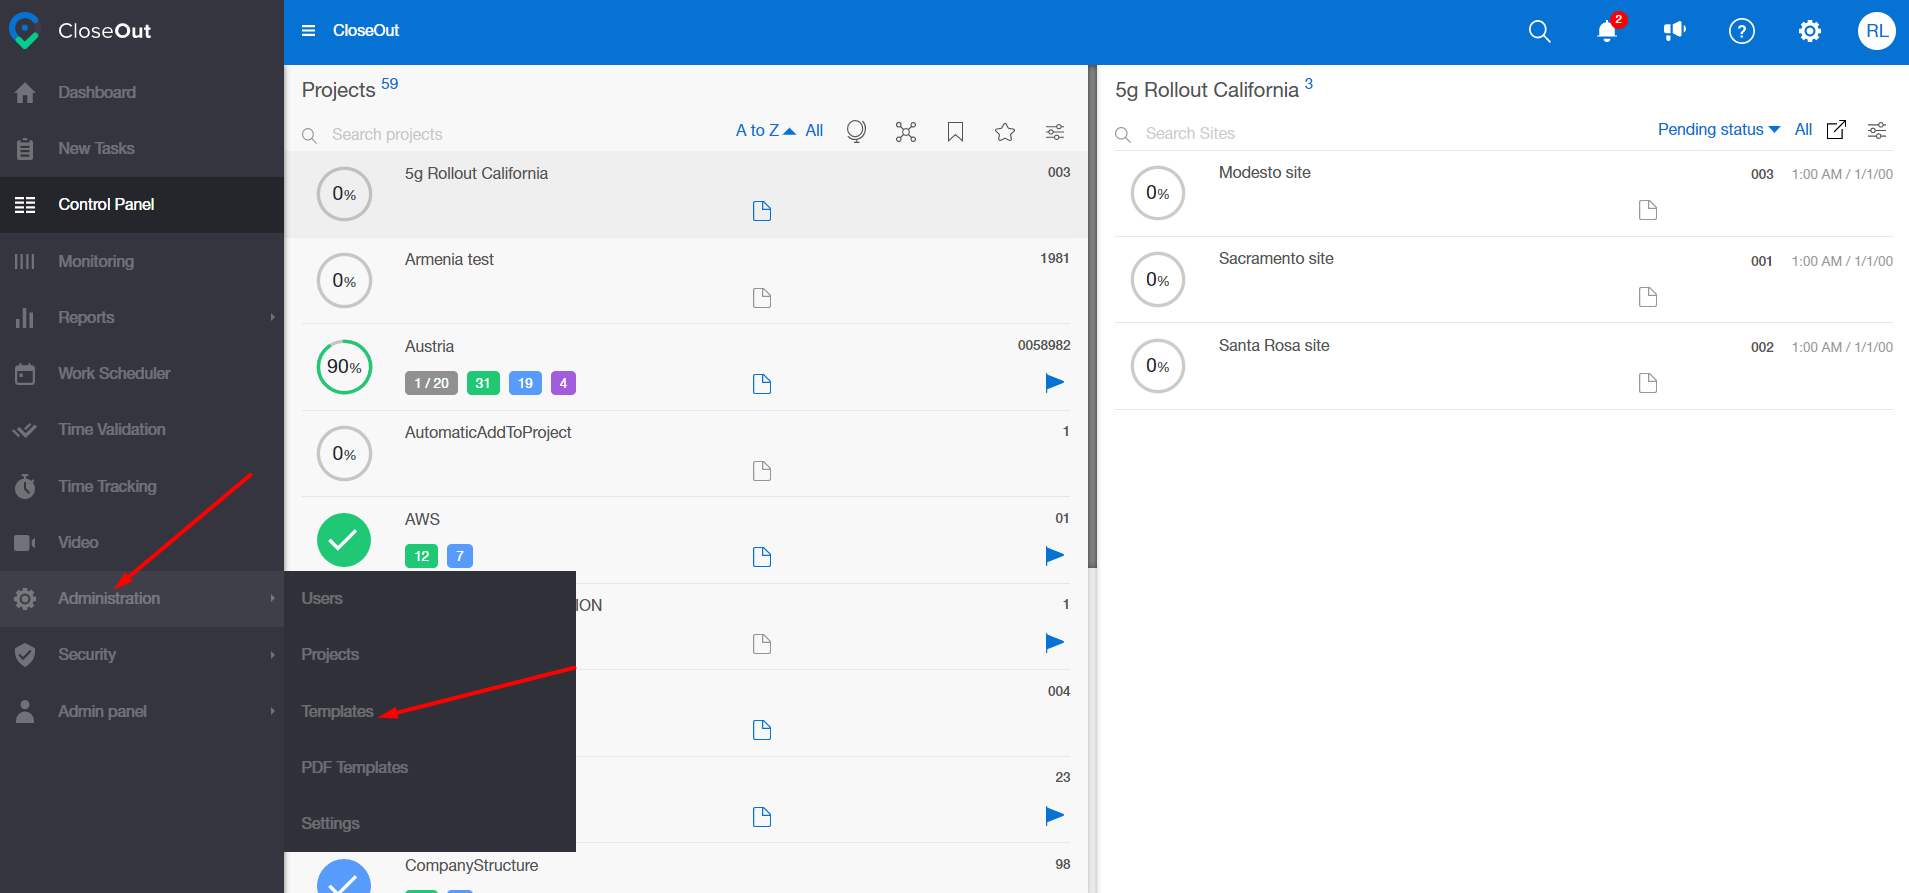
3. Choose a project.
4. Open a photo placeholder on which you would like to use the AI models.
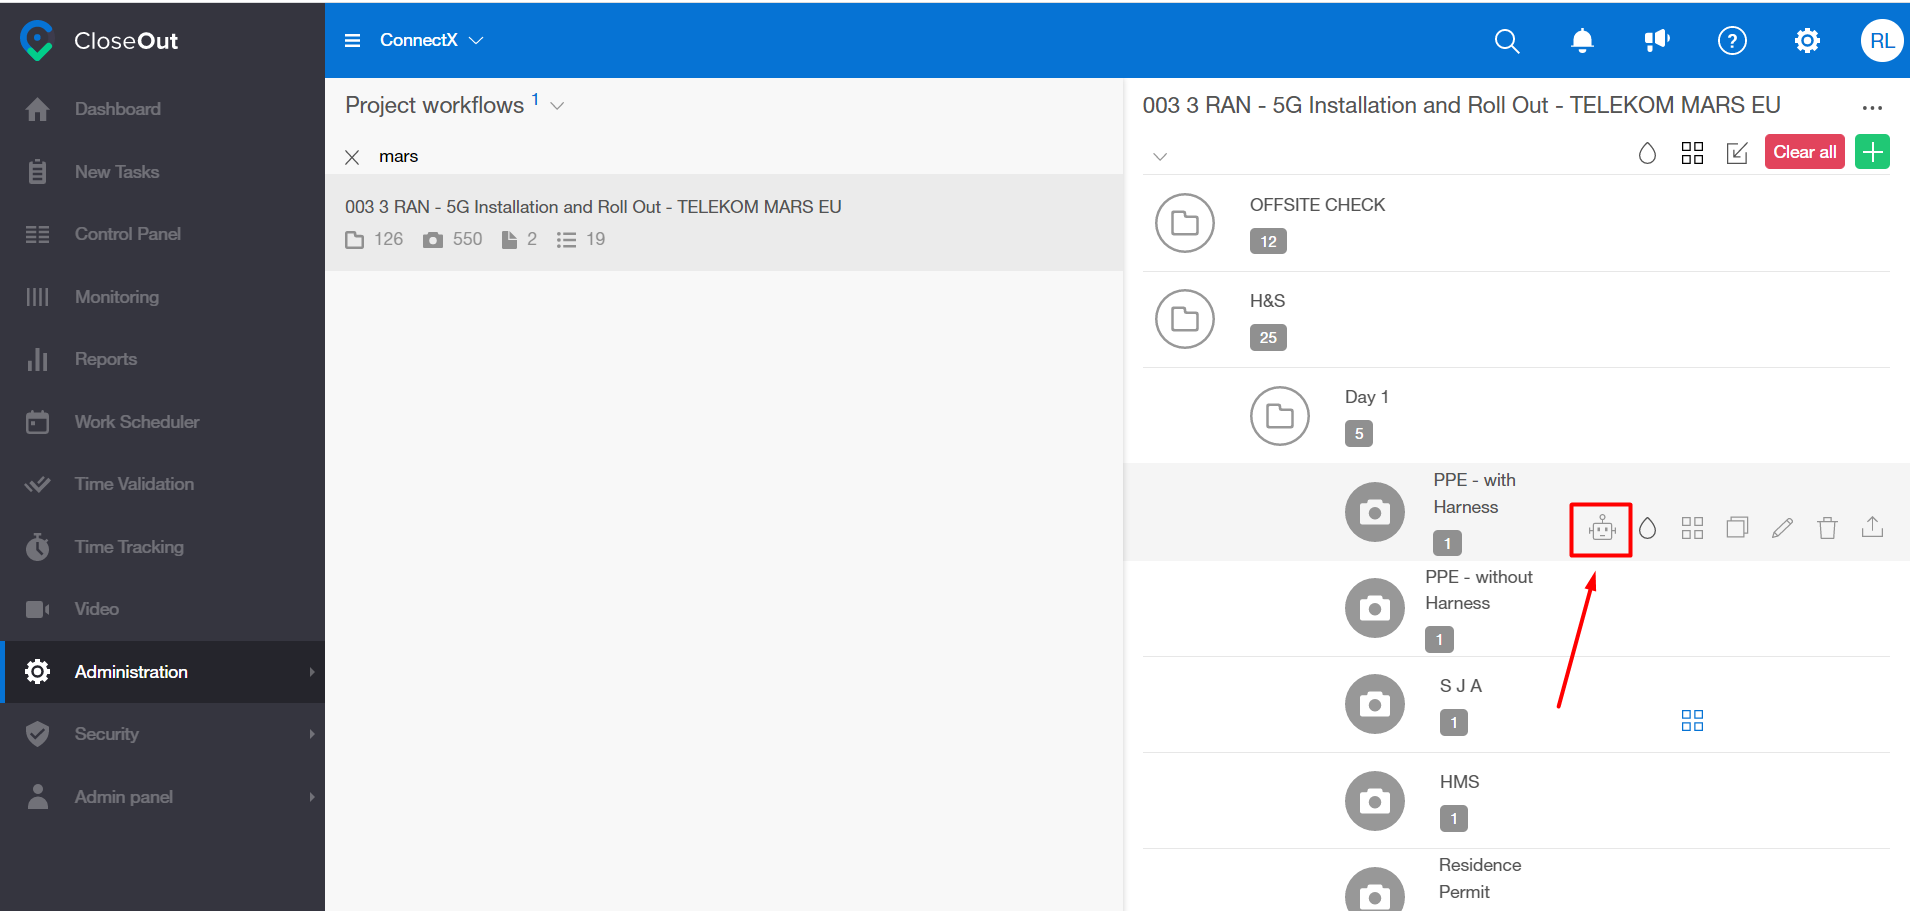
5. Click on the "robot" icon.
6. Choose the AI models from the list and click Save.
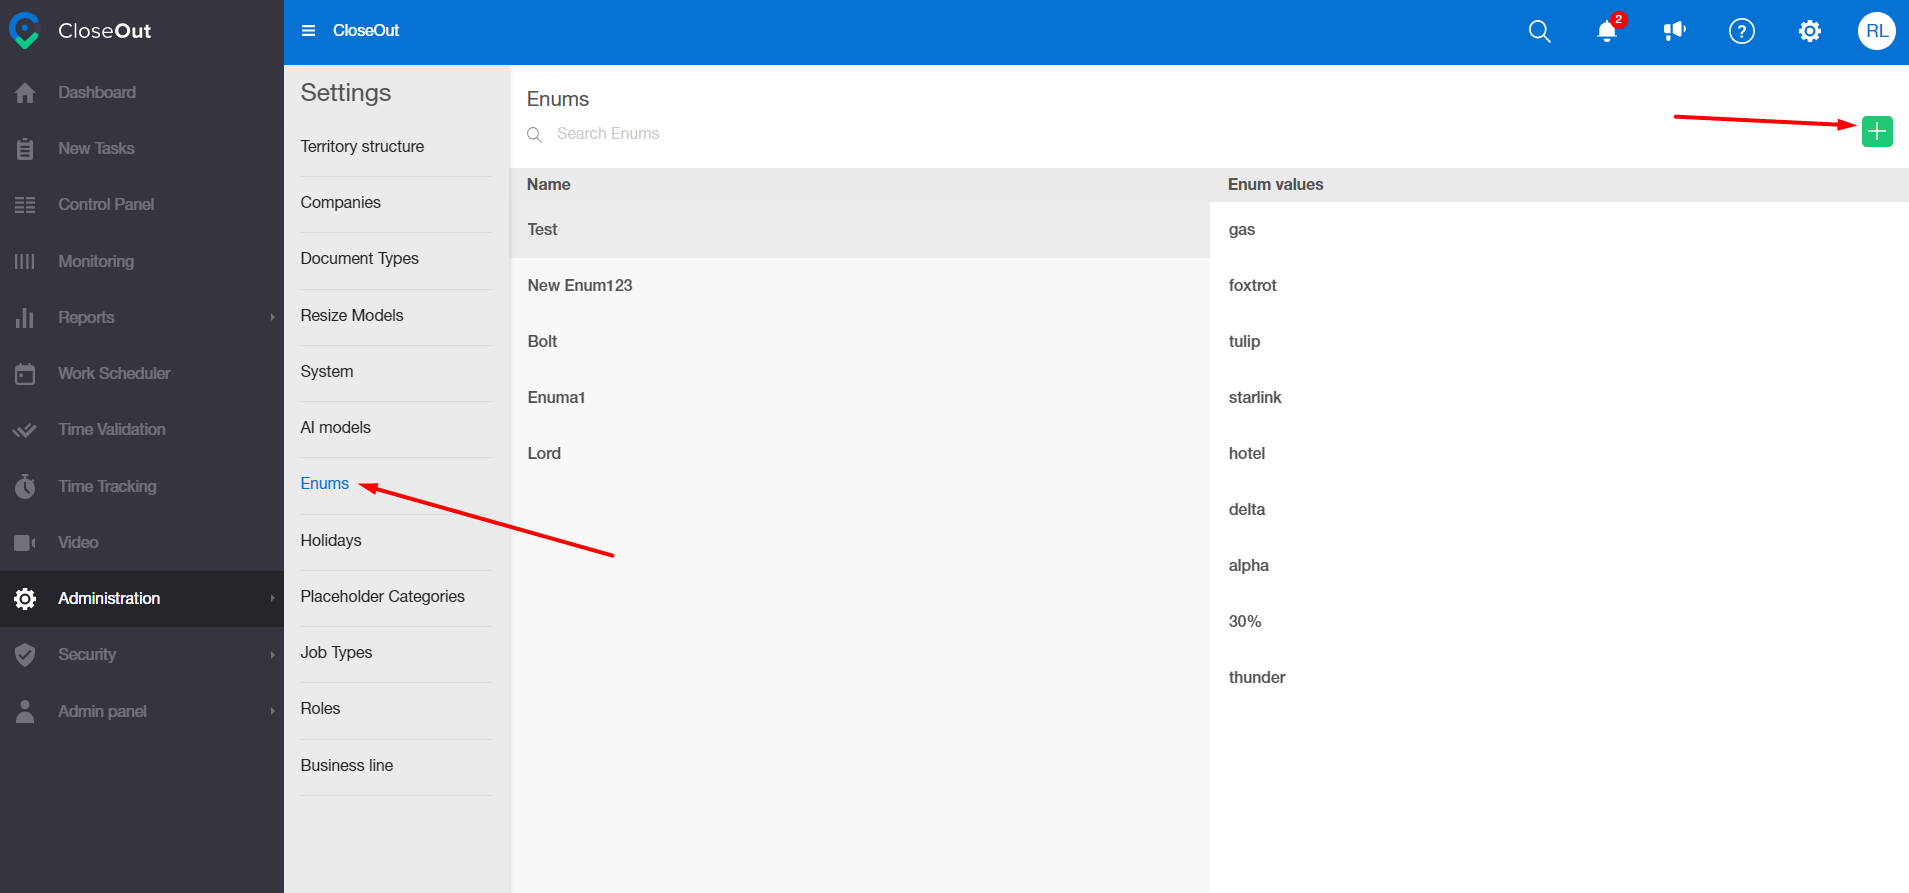
How to create Enums
Enums can be created in order to prepopulate single and multi checklist answer options.
Click on + , type its name and then Save. Hover over the Enum name and click the + icon to add values that you want it to contain (you will have to click + for each value you want to add). You can delete them or modify existing Enums in the same manner (selecting pencil or thrash can icon by Enum name or Enum value).
Create a Holiday
This is used to automatically highlight the non-working days in the exported reports.
1. Log into CloseOut
2. In the Administration tab select Settings.

3. Click on the + icon and populate the necessary info
Holidays can be edited and deleted by clicking on the chosen Holiday and selecting "pen" icon, or a "bin" icon.
Create a new Placeholder Category
Based on your preferences, a placeholder category can be created and added to the whole project workflow, on all nodes within a folder, or on a single placeholder.
1. Log into CloseOut.
2. In the Administration tab select Settings.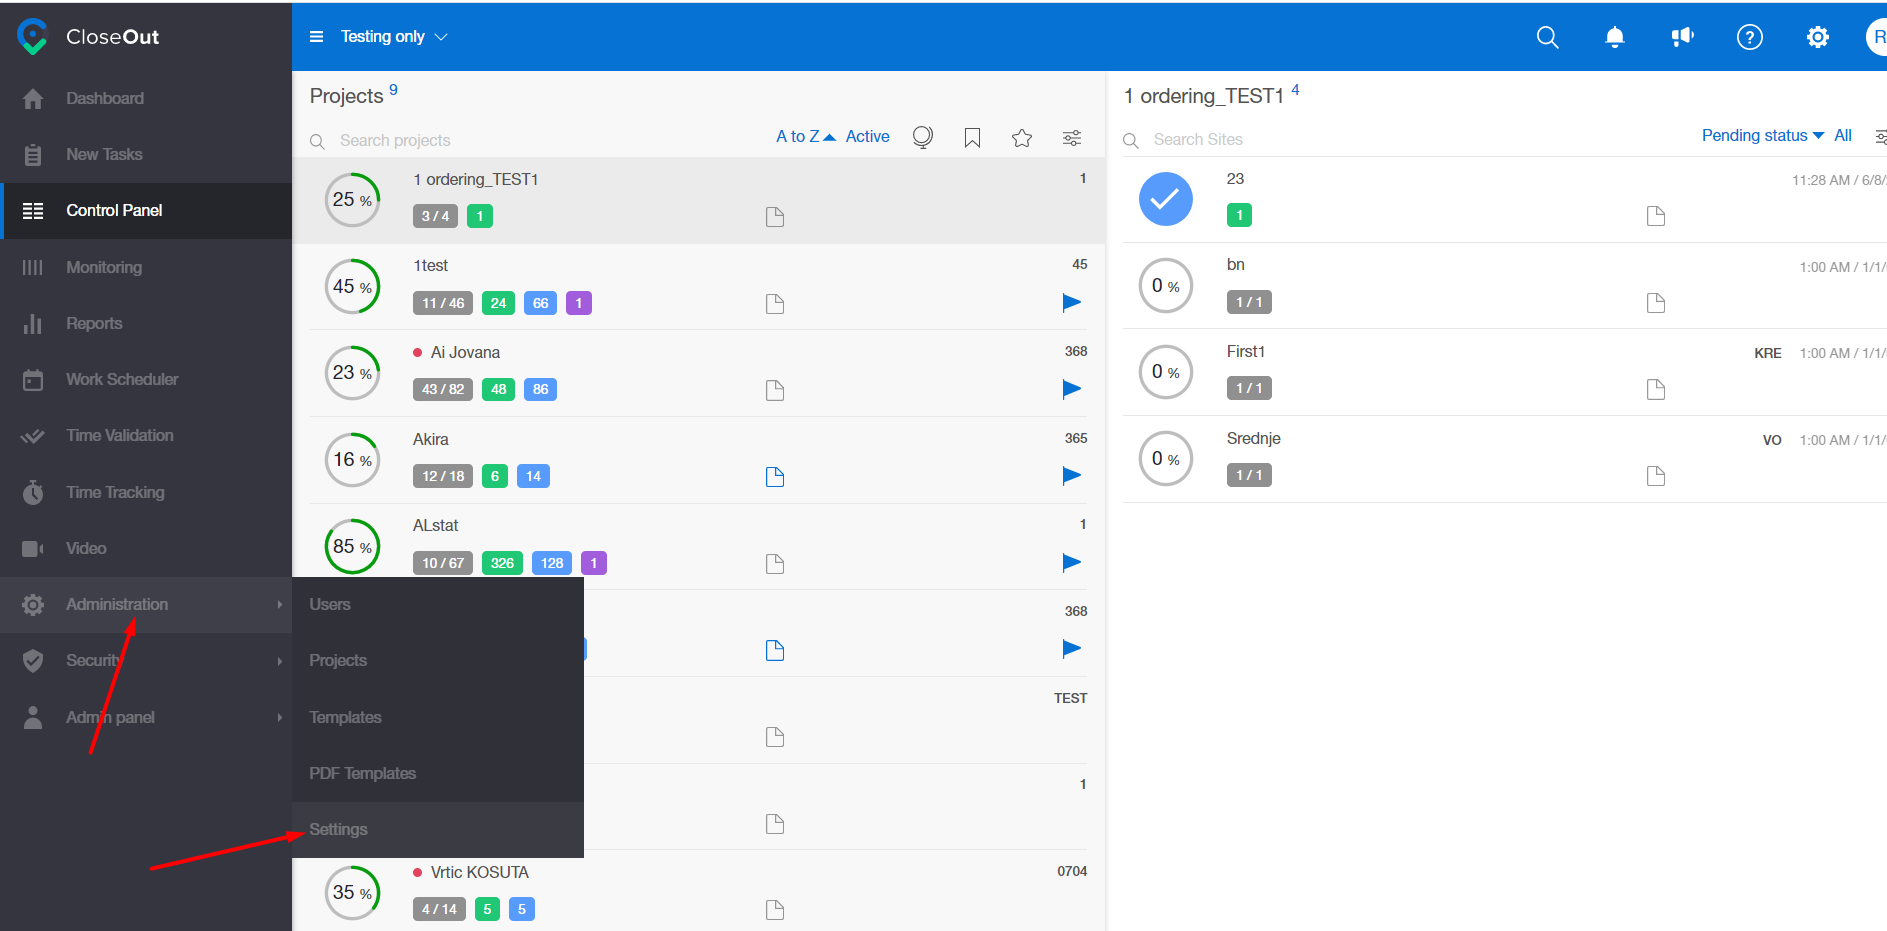 3. Click on the Placeholder Categories.
4. Click on the + button.
5. Enter the name of the placeholder category and click Save. 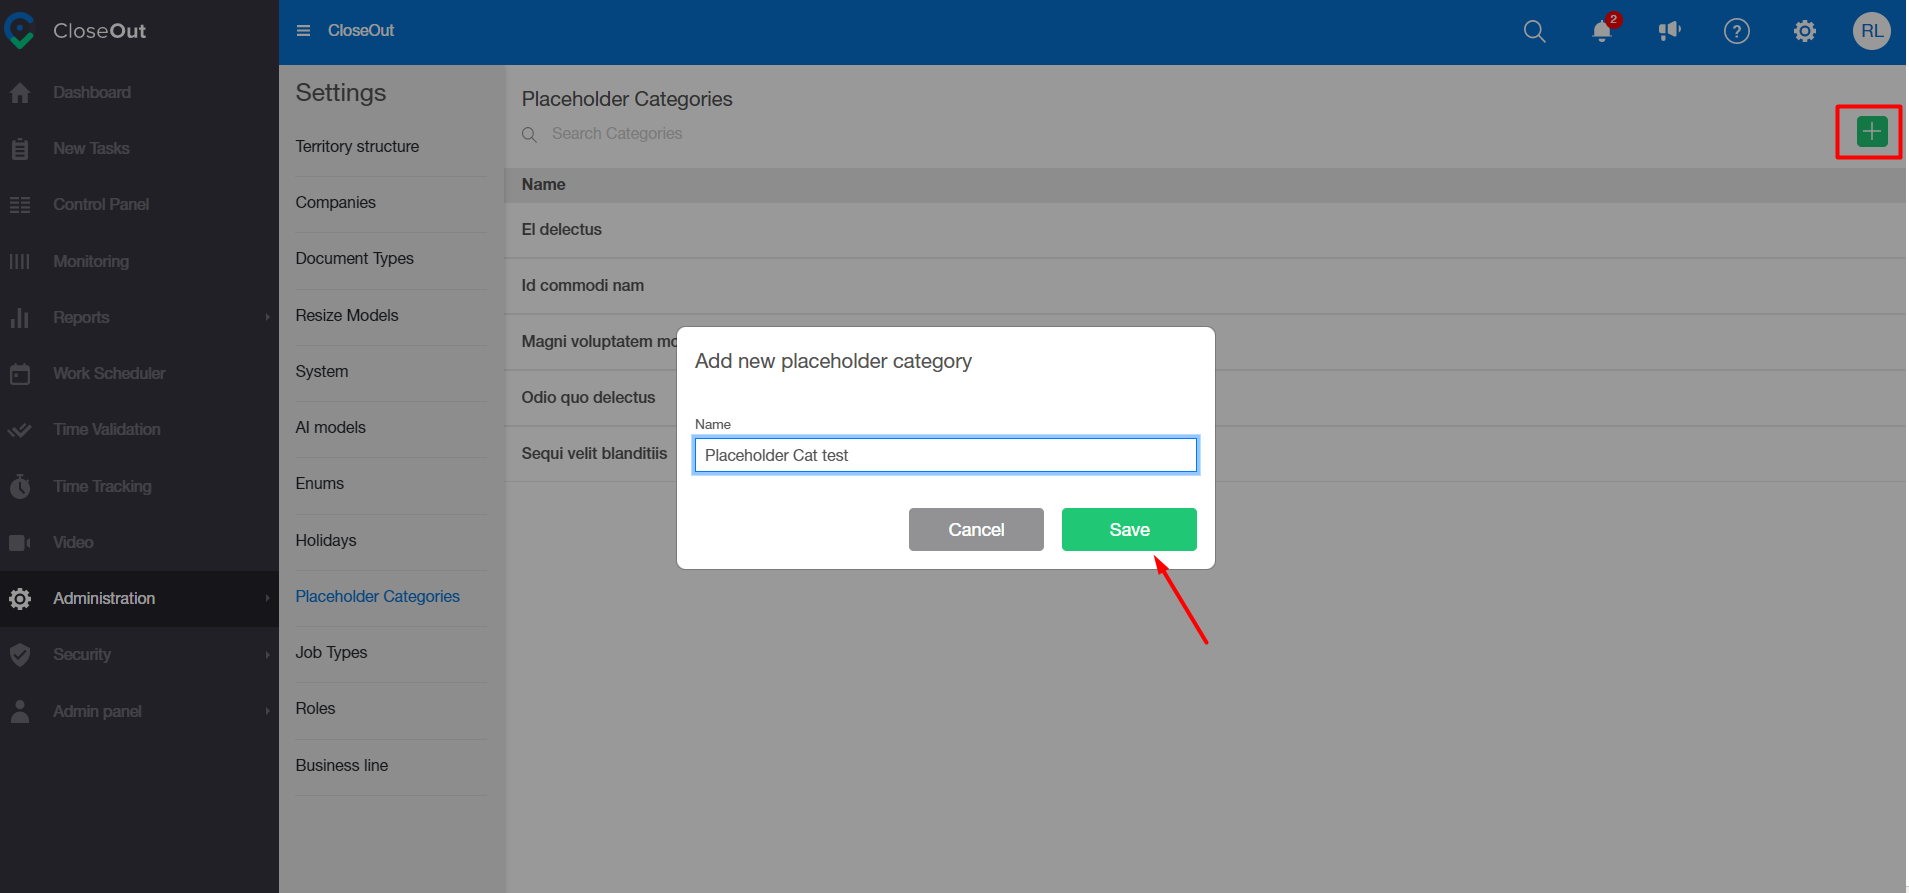
Info
A placeholder category can be edited by clicking on the pen icon in the upper right corner.
Create a Job Type
1. Log into CloseOut.
2. In the Administration tab select Settings.
3. Click on the Job Types.
4. Click on the + button.

5. Enter the name of the job type and click Save.
How to create and edit Roles
To organize and easily change user access rights, CloseOut uses a system of roles.
We have predefined 7 user roles, each with their own specific access permissions:
Admin, HR, Quality manager, Quality specialist, Region manager, Field tech and Read only. These are default roles and cannot be deleted or altered. The following article displays the permissions for each role. You can easily view the specific permissions for each role here, or through the CloseOut app.
If any of the system predefined roles do not suit your needs, you can create your own, custom-tailored role.
- Log into CloseOut web app.
- Go to the Administration section and navigate to Settings ⇒ Roles
-
From here you can either:
a) Pick a predefined role (marked in blue) to create a clone which you can rename and modify according to your needs, or
b) Create new custom role from ground up. Either way, you'll be able to create a role that fits your specific needs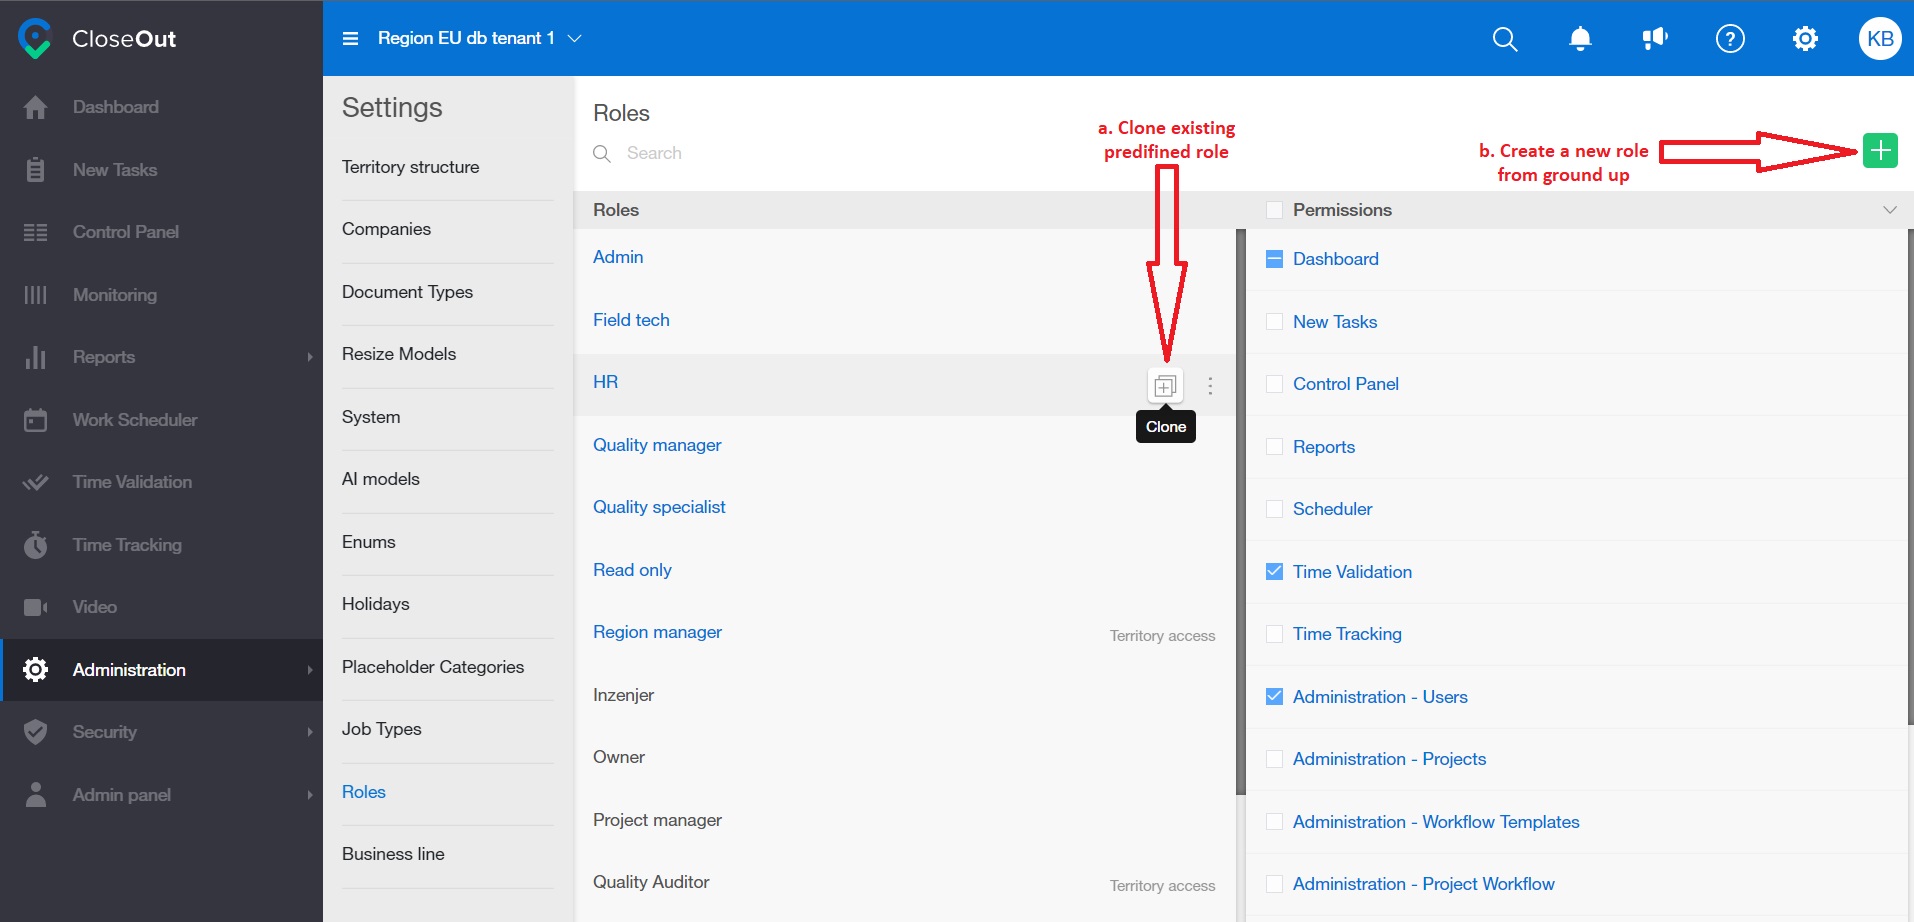
-
Pop up will appear asking you to name (or rename) your role. Pick a suitable name for a new custom role and click Save.
.png)
- To select permissions, you want for any of the custom roles, choose them from the right panel. Selected app features will be accessible to any user who has been assigned that role. Every module can be customized further, so you can specifically set user access rights for every feature.
Territory access roles
All custom roles can be granted territory access. By doing so, a role will have access to all projects that are assigned for a chosen territory structure, without necessity to add that user with that role manually in Security to every project on that particular territory.
You can assign territory access to the role by going to Administration⇒Settings⇒Roles:
The next step is to hover over a custom role, click on the 3 dots and check the territory access box, followed by Apply.
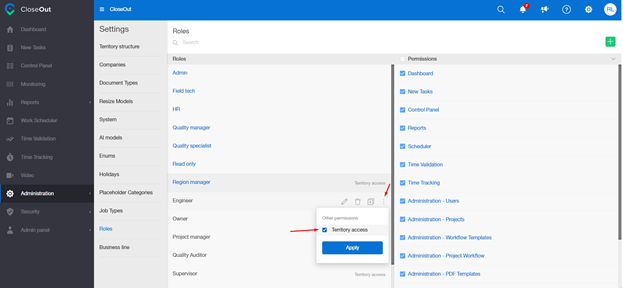
All roles with granted territory access will have a globe icon next to them when created or edited.
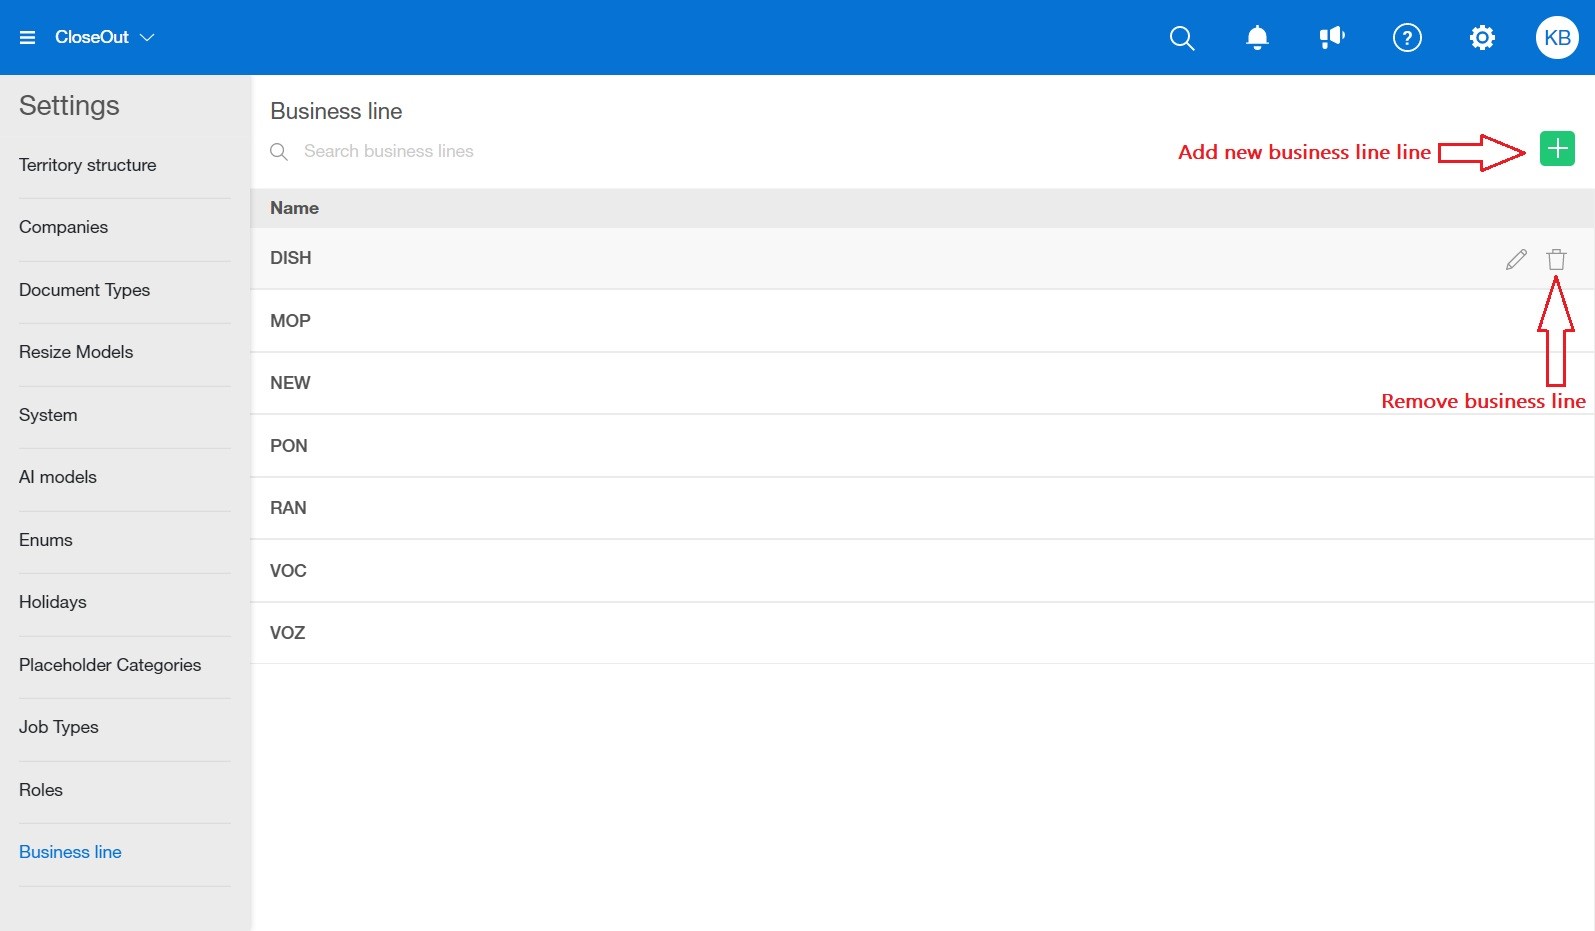
How to create a Business line
Business line is one more attribute that you can assign to your projects. Assigning a business line to projects helps organize and filter operations for better efficiency and clarity. To create business lines that will later be added in future company project:
- Log into CloseOut web app.
- Go to the Administration section and navigate to Settings ⇒ Business Line.
-
Click on the + icon to add a business line. To delete an existing business line, simply click on the trash bin icon located next to the business line you wish to remove.